- Connect to the App Volumes Manager Web interface by opening a Web browser and going to https://<servername.domain.com>, or by double-clicking the App Volumes Manager icon on the server’s desktop.

- Click the Get Started button.
-
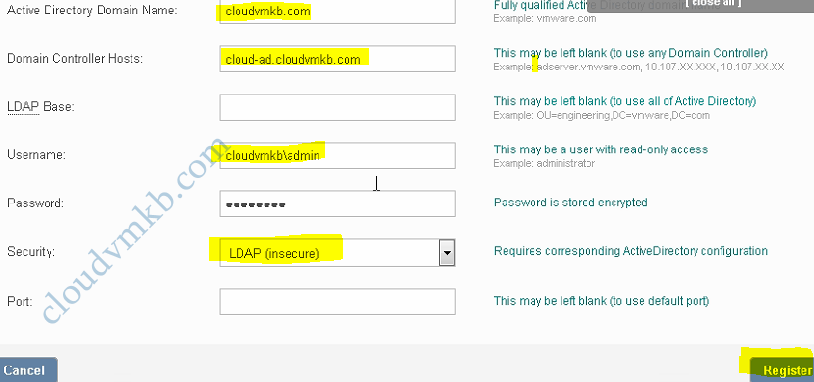
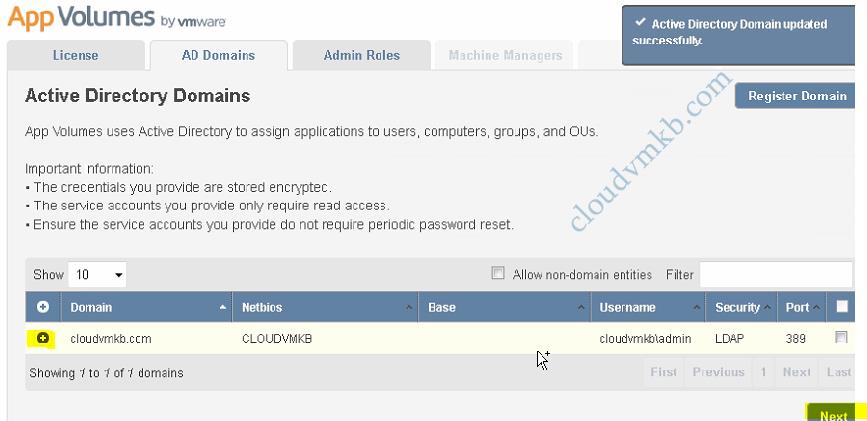
Configure Active directory Domain information to assign applications to users and groups and OU


App Volumes requires Active Directory to work properly. At a minimum, you need to have the fully-qualified domain name and a service account with read-only access. If you only provide a domain name and service account credentials, App Volumes will automatically detect the domain controllers to use and will browse the full directory when looking for users, groups, and computers

Select the group that will have administrative access to App Volume Manager, and click Next to continue.


To create the virtual disks for App Stacks, App Volumes Manager will need to access to vCenter. You’ll need to provide the host name and credentials for a service account. The system will verify your service account when you click Next; you won’t be able to proceed until a valid account has been configured. Note: To view the permissions required by the service account, click the Required vCenter Permissions link at the bottom of the page

Select the datastores and paths where App Stacks and user-writable volumes will be stored, and click next to continue.


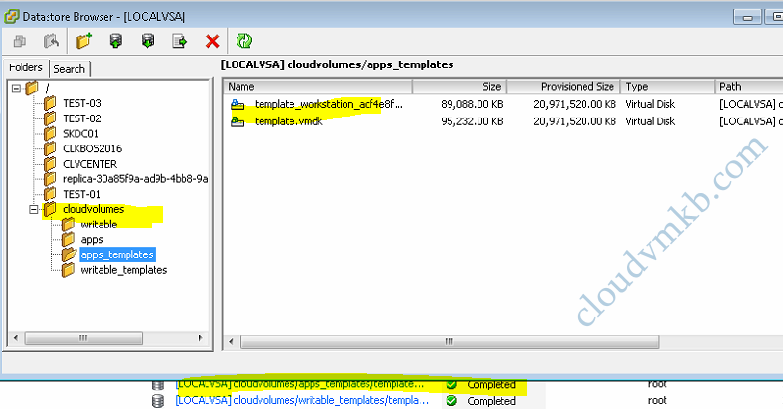
Select the datastore and the host that will be used for uploading the prepackaged template volumes. You’ll also need to provide credentials for the host in order to complete the upload. Click Upload to continue.

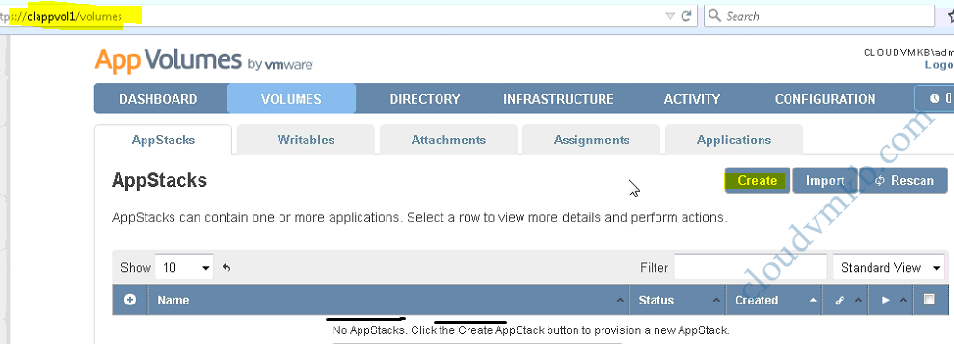
Now you’ll be able to create new App Stacks and writable volumes. App Volume Manager is ready to use. In the next article, I will cover how to set up a capture machine and how to capture your first application to create an App Stack and writeable Volumes. Thank you for reading this post.